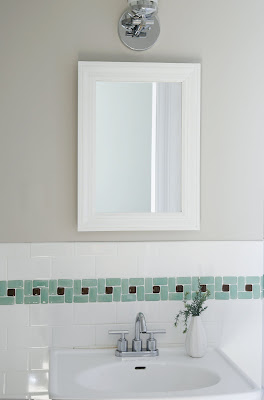
HomeNomad Project #2 - Mirror Makeover
Materials • Primed MDF door-casing sufficient to cover perimeter of mirror, adding an extra third of the total length to compensate for cuts (available at a lumber yard or home store) • Hot glue gun • Eleven (11) 3M Command Picture Mounting Strips • Miter box and saw (or have your lumber yard cut for you) • Wood filler • Paint if desired (the photo shows primed MDF, which is white)
Note: If the door opens on your cabinet, check the clearance on the hinged end to see how much you can have the molding extend past the mirror without hitting the wall. Instructions Allowing for a minimum of 1-1/2” of the molding sitting on top of the mirror, measure and cut the MDF into four pieces using the miter saw. Make sure you cut the 45-degree angle so the four pieces will meet at the corners like a picture frame. The frame will be larger than the mirror when assembled.
Working on a flat surface from the front of the pieces, align and hot-glue the corners. Try to make them as square as possible.
Fill any gaps in the corners with wood filler or spackle, sand and paint if desired.
Apply the 3M Picture Mounting strips according to manufacturers instructions on the corners and center edges of the mirror, then peel adhesive liner off the mounting strips and press the frame into place.
