4 Finishing Touches that Turn Functional into Fabulous!
Do you have an area of your home that you’ve put some effort into, but it still doesn’t quite have that polished look you were hoping for? It’s common to run out of steam at the end of a design project or makeover and be left with a nice room, but not a great room. Maybe what’s missing is a little flair or your own personal stamp? Here are four fabulous finishing touches that give your space extra pizzazz without driving you crazy in the process. And get my free Pillow Cheat-Sheet right here!
1. Use color to unify.
Does your room look like it’s not very cohesive? Take a look at what you have in the space, and pick a secondary color or two to play with for your finishing touches. For example, a small patch of yellow on a rug or a touch of yellow on a painting can be picked up by a pillow. You can even introduce an accent color that doesn’t show up anywhere else! If you use these colors consistently in your pillows, art and accessories, you can’t go wrong.

2. Start with a clean slate, then add and edit.
If you already have some items on the space you’re working on, such as a shelf, table or mantle, clear them off and place things in one at a time, creating small groups to start. You do not have to use everything! Translation – you should not use everything. Most of the time, a smaller, carefully curated collection of things makes a stronger design statement than having a whole lot of stuff – even if you feel it has a similar theme or color story.

3. With pillows, vary sizes, and work those accent colors!
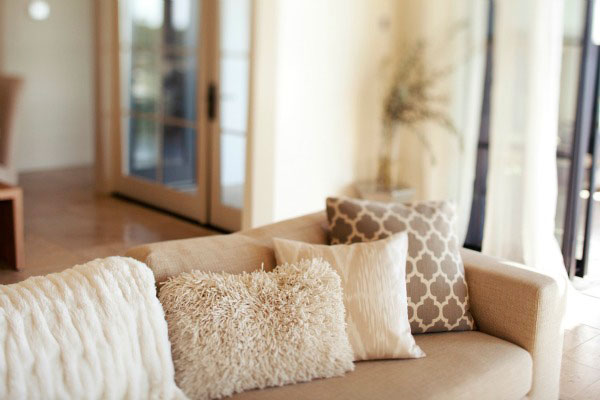
If you’re picking pillows for a sofa or loveseat, start with your largest pillow in the corner and go smaller from there. Don’t forget to repeat your accent colors, and look for a variety of weaves or textures to keep it interesting. And finally, it’s OK to buy a couple of extras – you’ll have a bit more to play with and you can return the ones that don’t quite work.
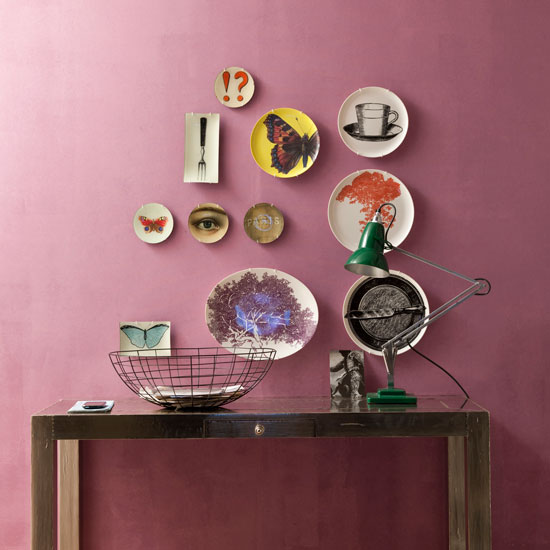
4 Hang artwork with a friend.
This is important and it’s not just for the company or for a second opinion. If you are hanging anything on the wall, you need to step back and see it in context. Your friend can hold it up and keep a pencil handy to make note of the best position. If you are choosing what to put where, don’t be stuck on the ‘where’. Sometimes an unexpected location makes a great statement for your art, so walk around and try some different options. Finally, start at eye level for hanging. This means that the center of the piece should land around 60” above the floor. Of course feel free to break the rules if things look better at a different height but use this as a starting point. Sometimes it’s the small details in the room that really set it a part and make it a space you love to live and work in. So if your room feels just okay pick one or more of these fabulous finishing touches to give it a boost. Are you looking for a complete room makeover? Could you use some support? Click here to learn about my upcoming Design Coach Series, where I coach you through your entire room redo from start to the final finishing touch.

